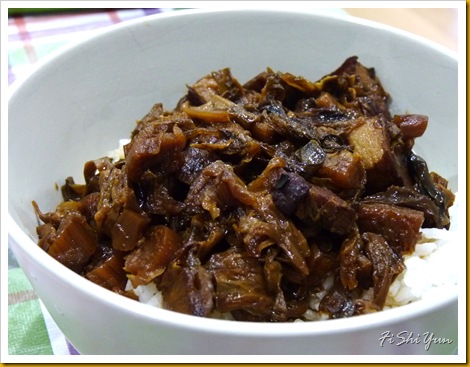
This is one of my favourite-est dishes in the world. and the last time i ate this was maybe 6 years ago. I used to only eat the version my grandma cooked, and ever since she started getting sick and past away, i have not eaten a good version of this dish ever since.
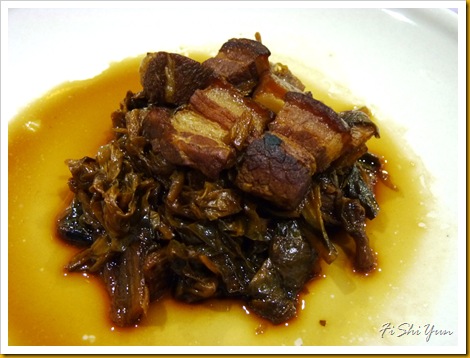
I wanted to cook it the way she used to cook it, cause that's the one i know best. Her's did not involve steaming or cooking the pork and veggies separately. Hers with all together in one pot with loads of yummy salty sauce to go with rice or porridge. So i get out to replicate what she made. and i am so so so so so happy to say that i have done it! with great success. She will be so very proud.
This is a time consuming dish. but it is totally worth it. the 3 of us ate it for dinner for 3 straight nights.
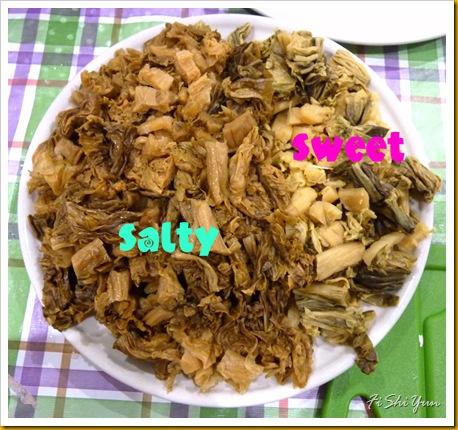
1. 500g mei cai (you can use a mixture of sweet and salty or just salty – as you can see, i used 3/4 salty and 1/4 sweet)
2. 6 pieces of pork belly – i'm not sure of the weight though. but a good amount of meat
3. Light soy sauce
4. Dark soy sauce
5. 6 cloves or more garlic, crushed
7. A tiny star anise
8. Water
Directions
You have to wash your mei cai really well. The sweet one doesn't really need soaking but the salty one needs. So after washing, soak the salty mei cai for 3 hours, changing the water every hour.
While doing that, you can start to prepare the pork. I don't like hair on my food, so i pick all the hair out of the pig skin. then give it a good wash.
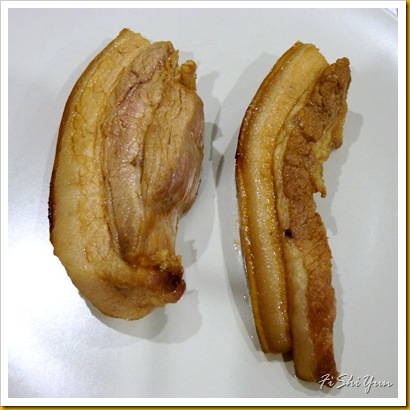
Boil a pot of water, and place the pork belly in. This cooks and gets rid of 'dirty' things on the pork, like excess blood etc..
Taking a few tablespoons of light soy sauce, sorta marinate the pork belly pieces in it, just for a few minutes. This gives it colour and fragrance when we fry it later.
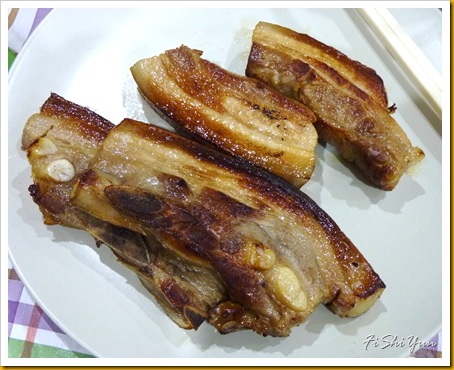
In a wok, place a little oil and fry the pork belly till all sides are nice and brown. Some sides are more difficult to fry, so don't kill yourself if you can't get all the sides. The hot oil stings!
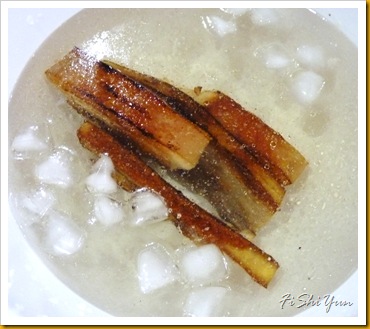
Place the pork, still hot, into ice cold water. and leave it there for as long as you can. This step is what gives you a wonderfully bouncy and melt in your mouth fats. You can leave the pork in here until your mei cai gets enough soaking time.
Then, slice the leaves of the mei cai into bigger chunks – about 1 cm and the stalk into smaller chunks – about 0.5cm.
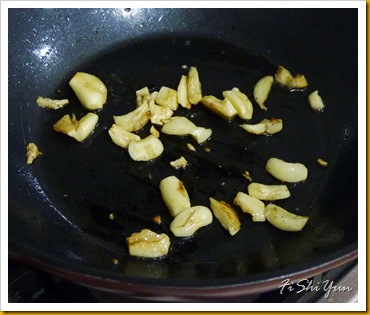
Fry the garlic till fragrant and slightly browned. Then add in all the mei cai and fry till fragrant and dry. This can take quite long. I was actually watching tv and cooking this at the same time. but i used a really small – medium fire.
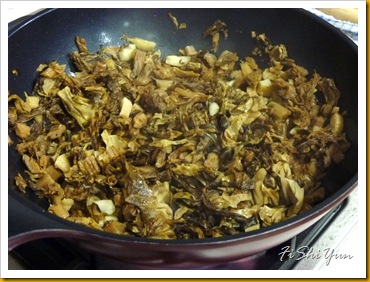
Fry fry fry fry till dry and nice. Since it takes a while, you can chop your pork into pieces while frying. Some of them aren't even totally cooked, but it's not a problem at all. Just chop them all up into big chunks. They will shrink slightly, so take that into consideration.
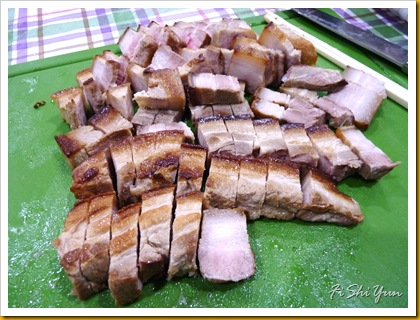
After chopping this up and when you mei cai seems to be done, take out the mei cai and place them on a plate. Adding a little oil, fry the pieces of pork.
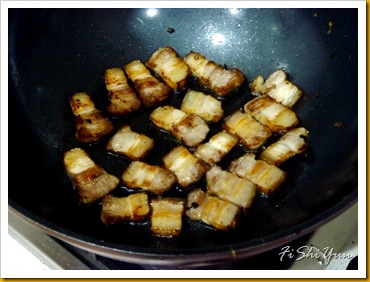
It takes time to render the fat and get them all nice and crispy. So i did half a batch and got lazy so i didn't fry the other half. which i think was absolutely fine because these pieces shrunk much more and were harder after the frying and stewing. So half half is good.
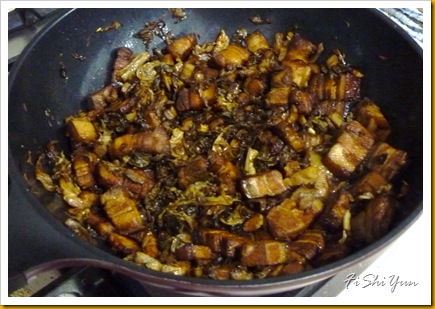
Next, i added in 1 cup of light soy sauce and 1/2 cup of dark soy sauce and fried that together with all the pork. When you can smell the fragrance of the soy sauce, add in all the mei cai and mix thoroughly.
At this point, i transferred this mixture to a pressure cooker. You can transfer it to the normal pot and cook for around 2 hours or until the pork is amazingly tender. but i had a pressure cooker and we were hungry, so i transferred it to the pressure cooker and topped it up with 4 cups of water, or until the water covered the ingredients. Then add in the star anise – a tiny one or snap off 3 pieces of a big one – not a few hundred, like they like to do here..
Taste! I decided that it wasn't salty and dark coloured enough, so i added another splash of light and dark soy sauce. This is totally to your taste, but i make it slightly saltier because this is definitely a dish to eat with rice or porridge and not on it's own – although, we do eat it like that as well. haha!
Cover and cook! If you're using a pressure cooker, 30 minutes is great on medium pressure.
Next day tastes even better! Add hard boiled eggs before you keep it in the fridge and it will be perfect the next day!
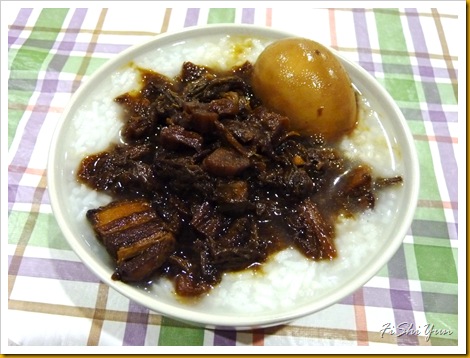
Yum! Blogging about this has so totally made me crave for it again!!!




No comments:
Post a Comment